Alright, let’s dive into how to prep for subframe part replacement—straight from a subframe parts supplier who’s dealt with way more than their fair share of “wait, I didn’t think about THAT” moments. Subframe Parts
First off, let’s cut the crap: subframe replacement isn’t like swapping a headlight. This is a core structural part that connects your suspension, engine, and transmission to the chassis. Mess up the prep, and you’re looking at uneven tire wear, steering drift, or worse—something going wrong mid-drive. I’ve seen cars come back to my shop (wait, no, my parts desk—customers bring in their cars) where the tech skipped a step because “it’s just a frame thing” and ended up reordering half a dozen extra parts. Let’s avoid that.
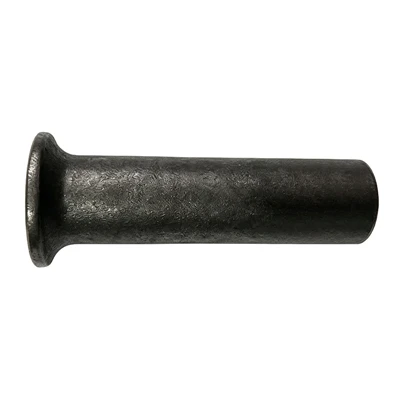
First, start with the basics you can’t skip: get the right parts. Duh, right? But here’s the tea—don’t just Google “subframe for a 2018 Civic” and click the first one. If you’re buying from a random site, make sure it’s either an OEM exact match or a high-quality OE-equivalent (AE-equivalent, as we say at work). We actually check every batch to make sure the mounting holes line up perfectly, because a 0.5mm gap is enough to throw off your camber. Also, don’t forget the small subframe parts—bushings, bolts, sway bar links, the little clip that holds the wiring harness. People always buy the big subframe and skip these, then have to wait 2 days for a shipment. Trust me, stock up on those too.
Next, prep the space and the tools. You don’t need a fancy garage, but you do need a spot where the car can sit level for a few hours—no slanted driveways, because that’ll throw off the alignment later. Tools: you’ll need a jack (not the tiny scissor jack that came with your car—get a 2-ton floor jack), jack stands (two, minimum—never work under a car on just a jack), a breaker bar (that rusted bolt won’t budge with a regular wrench), a torque wrench (non-negotiable—you’ll see why), some penetrating oil (WD-40 works, but PB Blaster is the real MVP), and maybe a wire brush to clean up rusty bolts. Pro tip: lay down a old tarp or cardboard under the car—you’ll be crawling around, and grease on your jeans is hard to get out.
Wait, before you even get under the car: disconnect the battery. I know, it seems silly, but if you’re messing with wiring harnesses (which are almost always tied to the subframe), you don’t want to accidentally short something. Also, loosen the lug nuts on both front wheels before you jack the car up—once it’s on stands, it’s harder to get leverage. Don’t remove them yet, just break them loose.
Now, the part where most people mess up: documenting what you take apart. Take photos. Take a lot of photos. I see it all the time—techs (or DIYers) think “I’ll remember where this wiring clip goes” and by the time they’re halfway done, they can’t. Use your phone, take close-ups of every connection, every bolt location, even the way the brake line runs along the subframe. If you’re old school, you can label bolts with tape, but photos are way faster. Also, put all the small parts in a labeled container—like a plastic bin that says “LEFT SUBFRAME BOLTS” or “SWAY BAR BUSHINGS.” No more digging through a pile of random nuts and washers for 20 minutes.
Next, prep the old subframe for removal. First, disconnect the suspension parts: control arms, tie rods, sway bar links. Then, disconnect the engine and transmission mounts that bolt to the subframe—pro tip, don’t fully remove the bolts yet, just loosen them so you can lower the subframe slowly. Also, here’s a trick we teach our regular customers: spray all the bolts with penetrating oil at least 30 minutes before you start. If you wait until you’re trying to turn a rusted bolt at 8PM, you’ll be there until midnight.
Wait, when you lower the old subframe, don’t drop it—use a jack to support it as you loosen the last bolts. Subframes are heavy—like 50 to 100 pounds, depending on the car. No need to hurt your back over this. Once it’s down, take a second to inspect the chassis where the subframe mounts. Is there rust? Is there a crack? If you’re working on an old car, this is the time to hit those rust spots with a wire brush and some rust inhibitor. Don’t just slap the new subframe on and call it good—fixing the chassis now will save you a ton of issues later.
Now, the new subframe prep. Before you bolt it up, lay all the new parts on it (bushings, bolts, sway bar links) to make sure everything fits. Check the mounting holes—if they don’t line up perfectly, don’t force it. That’s why we test every subframe at our warehouse, but sometimes there’s a tiny variance from wear in the tooling. If that happens, gently file the hole with a metal file—just a little, don’t overdo it. Also, coat the bolts with anti-seize lubricant. Rusty bolts are a nightmare later, and anti-seize makes future repairs way easier.
Now, putting it all back together. Start by jacking the new subframe up to the chassis, aligning it with the mounting holes. Then, hand-tighten all the bolts first—don’t torque them yet. This lets you adjust the alignment a little if you need to. Once all bolts are hand-tight, go back and torque them to the manufacturer’s specs. Every bolt. The engine mount bolts, the subframe-to-chassis bolts, the sway bar links. Torque specs are on a sticker in your car’s manual, or you can look them up online. I can’t stress this enough—over-tighten, and you’ll crack the subframe; under-tighten, and it can come loose.
Wait, one more thing before you lower the car: re-connect the battery, then do a quick test of all the wiring (if you disconnected any). Make sure the lights work, the turn signals, the radio—no shorted wires. Then, lower the car off the jack stands slowly, to make sure it’s sitting level. Once it’s on the ground, you have to get an alignment. I know, it’s an extra cost, but if you skip it, your tires will wear out in 10k miles, and you’ll have steering issues. We tell every customer this, and the ones who skip it always come back.
Look, I’m not here to talk down to anyone. I’ve done my share of DIY fixes that went sideways. That’s why at our subframe parts shop, we always tell people—do the prep work right, and the actual replacement is half the battle. Don’t cut corners on the parts, don’t skip the photos, don’t forget the torque wrench.
If you’re not sure about any step, hit us up. We don’t just sell parts—we’ve got a team that can walk you through the process over the phone, no sales pitch, just real advice. We know how frustrating it is when you’re in the middle of a repair and stuck.
Now, quick recap to make sure you didn’t miss anything: get the right parts (big and small), prep your space/tools, disconnect the battery, take tons of photos, use penetrating oil early, inspect the chassis, prep the new subframe, torque everything to spec, and get an alignment.
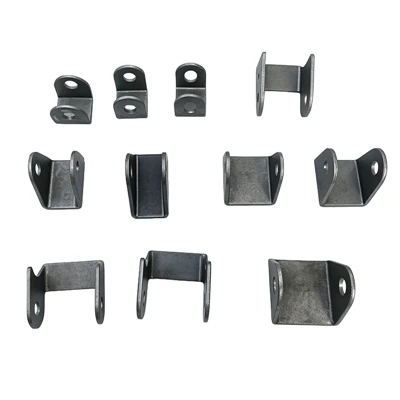
That’s it. No fancy stuff, no hidden tricks, just the stuff that works. And hey, if you need parts, we’ve got them in stock—OE and high-quality alternatives, all tested to fit. Just reach out if you wanna chat about your project.
Automotive Thermal Management Parts References:
- Automotive Service Excellence (ASE). (2022). Structural Component Replacement Guidelines. ASE Press.
- Ford Motor Company. (2019). 2018 Ford F-150 Service Manual: Subframe Removal and Installation. Ford Technical Publications.
- SAE International. (2021). Recommended Practices for Chassis Alignment and Fastener Torque Specifications. SAE International.
Ninghai Zhengda Moulding Co., Ltd.
As one of the most professional subframe parts manufacturers and suppliers in China, we also support customized service. Please feel free to wholesale durable subframe parts in stock here from our factory. Welcome to contact us for pricelist.
Address: No. 2088-3, Xuemian North Road, Taoyuan Subdistrict, Ninghai County
E-mail: xgs9425@outlook.com
WebSite: https://www.cn-zhengda.com/
